 | English
| Deutsch
For the calculation of the transverse suspension, it is now also possible to enter the lateral spring travel sQ instead of the transverse spring force FQ. The lateral deflection sQ caused by the lateral force FQ is analogous to the transverse spring rate RQ.
Under "View -> Lateral deflection" there is a new diagram FQ-s.

FED1 +: Transverse spring travel sQ limited at buckling
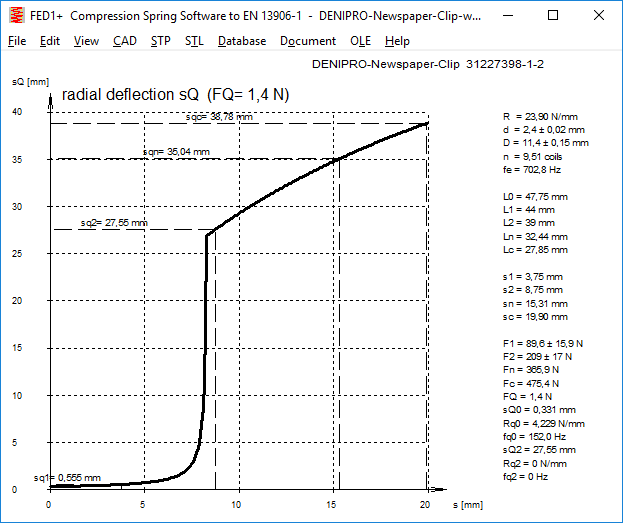
The transverse deflection is calculated according to EN13906-1: 2002. When the spring buckles (at s = sk), eta = 0, RQ = 0, and the transverse spring deflection sQ becomes infinitely large. If you continue to increase axial deflection s, eta <0, RQ <0, and the radial deflection sQ is calculated < 0. These results are impractical, so now in FED1+ there is a limitation of sQmax to the buckling of spring length L0: sQmax (s) = SQRT (2 * L0 * s - s˛)
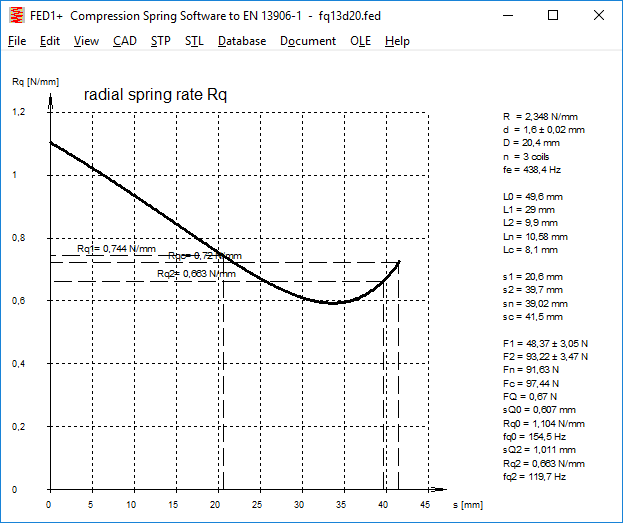
The transverse spring rate goes to 0 and remains 0 from s = sk, when the spring buckles. The transverse force curves are interesting. If the spring does not buckle, the transverse spring rate may both increase or decrease, or both, depending on the distance to the buckling area.
FED1 +: Transverse force FQ> 0
The transverse force FQ must always be greater than 0. With FQ <0 now you get an error message.
FED1 +: Bedding coefficient nue = 1 for calculation of lateral deflection
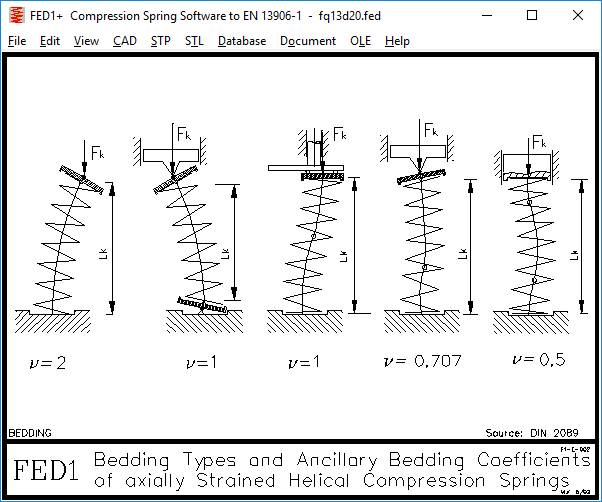
A transverse force acts radially on one of the two spring ends. Therefore, a spring end must be radially displaceable. For this bedding type, the bedding coefficient is 1. For calculation of lateral deflection, therefore, the bedding coefficient must always be set to 1.
FED1 +, 2 +, 3 +, 5,6,7,8,11,17: Suggestion for tolerance class of wire diameter
The spring program calculates the tolerance for the wire diameter when choosing the quality grade. Now, the various grades have become quite numerous over time, according to DIN and EN, for cold- and hot-formed springs, various classes also for patented drawn wire, oil hardening and stainless spring wire. If the program is to suggest a suitable grade, do not select the material from the list, but click on Database. Select material, then a suitable grade is set:
10270-1: according to EN 10270-1
10270-2: according to EN 10270-2
10270-3: according to EN 10270-3
10089: 3: according to DIN 2077
12166: according to EN 12166
all others: T4 according to EN10218-2
Now there is also a suggestion button for the same function. In addition, the proposal for "other materials" has been refined to wire diameter:

d <0.8 mm: T5 according to EN10218
d = 0.8 .. 10 mm: T4 according to EN10218
d> 10 .. 20 mm: T3 according to EN10218
d> 20 mm: T2 according to EN10218
In addition, JIS grade JIS 3522 is proposed for JIS materials
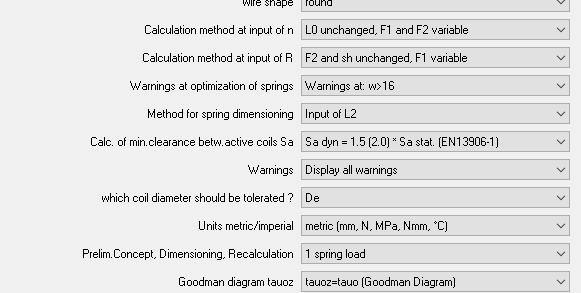
FED1 +: Calculation method with 1 spring force
The set calculation method when inputting number of coils n is also used in the recalculation, if e.g. choose a different material. A user had switched to input only 1 spring force and found that only the first, preset method (L0 unchanged, F1 and F2 variable) alters the forces by choosing a different material and then recalculating. In method 2, 3 and 4 (with L0 variable), however, the number of coils n is unintentionally adjusted, so that the forces remain constant. This also happens with 2 spring forces when L1 = L0 is set. This is because L1 and L2 are always constant and L0 at L0 = L1 can not be constant and variable at the same time.
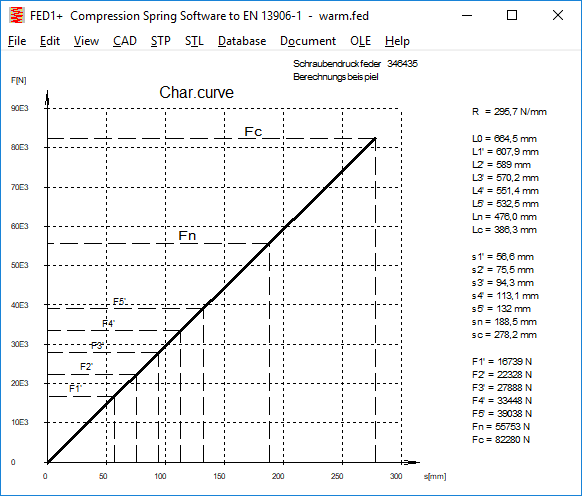
Recalculation Load-deflection curve of spring
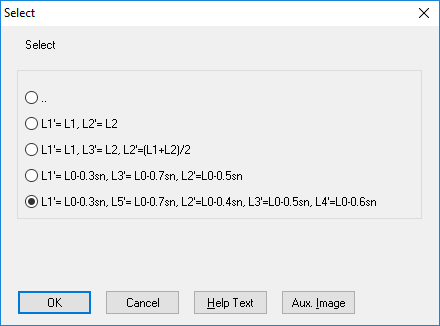
According to DIN 2096, the load-deflection curve between 0.3 * sn and 0.7 * sn is tested for hot-formed springs. Therefore, L1'= L0-0.3sn, L3' = L0-0.7sn and L2 '= L0-0.5sn were added as default for the input of the spring lengths, as well as for 5 measuring points Li' = L0 - 0.3, 0.4, 0.5, 0.6 and 0.7 * sn.
FED1 +, 2 +, 3 +, 5,6,7,8,11,17: New material NIVAFLEX
NIVAFLEX has been added to the materials database, a cobalt-nickel-chromium alloy for spring wire of high strength with thin diameter between 0.15mm and 0.5mm.
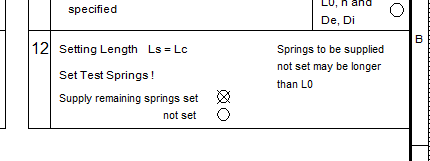
FED1 +, 5,6,7,17: Setting length Ls = Lc (set to block)

If "Ls = Lc" is checked under "Edit \ Production drawing" as setting length, then in new updates, only "Ls = Lc" will be output in the production drawing. If you want to output the block length in mm as before, remove the checkmark at "Ls = Lc".
FED1 +: Spring rate R in production drawing without brackets
The spring rate results from the spring forces F1, F2 and the stroke and was therefore previously displayed bracketed. But because you can now enter tolerances for the spring rate as well, R will be shown now without brackets.
FED2 +: Enter bending radius of loops

Under "Calculation method" you can choose whether the bending radius of the loops should be taken into account when calculating the loop tension. If the entry has been checked, you can enter the bending radius coefficient r / d. Because the input is poorly found in the calculation method, you can now also enter r / d under Edit \ Loops and under Edit \ Quick if checked under Edit \ Calculation Method". If the entry should always appear, save the default data with file name "NULL".
FED3 +: Spring rate for long legs and few coils
For legs on lever arm, the leg bending is calculated. If the suspension of the legs should also be taken into account when calculating the spring rate, this option can be set under "Edit \ Calculation method \ Spring rate calculation". A new warning "R leg > Ld / 10" appears if this option is not set and the lever arm of a supported leg is greater than 10% of the wire length.

And, for recalculation of torsion springs, the calculation method R = 1 / (1 / R0 + 1 / RS1 + 1 / RS2) will be the default setting in the future. R0 is spring rate of coil body, RS1 of leg1 and RS2 of leg 2.
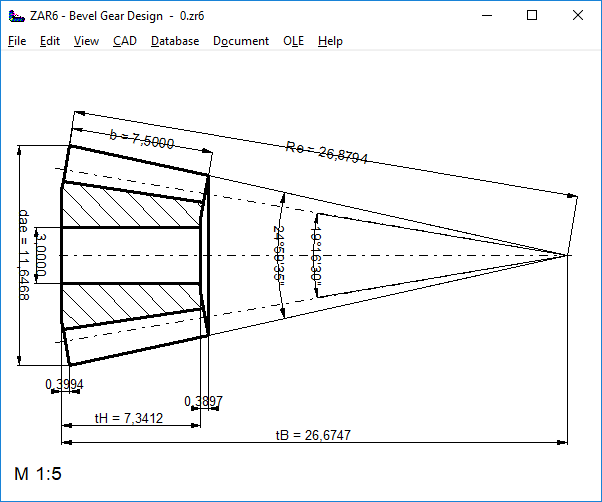
ZAR6, WN1, WN3, WN11: Dimensions also in inches
In ZAR6, WN1, WN3 and WN11, the drawings were always dimensioned in mm. When switching to imperial units, everything is now dimensioned in inches.
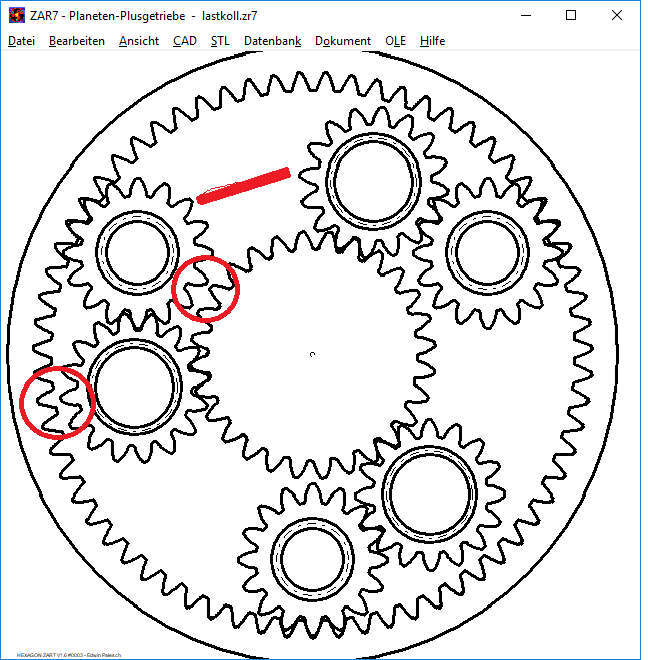
ZAR7, ZAR8: Clearances between gears
The distances between the inner and outer planet wheel, between the outer planet wheel and the sun gear and between the inner planet wheel and the ring gear are also printed now. If the distance becomes smaller than normal module / 10, an error message appears.
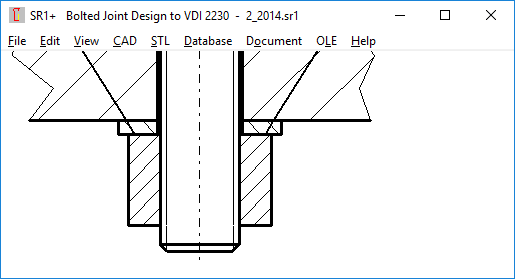
SR1: database for special nuts

Even special nuts you now can create and get from a database (SPECNUT.DBF). In drawings special nuts are simply displayed as round discs.
SR1: Clamping plate database also with slot hole

The clamping plate database KLEMMSTK.DBF with washers has been extended by a CC field. That's the center-center distance of a slot hole. If CC <> 0, the slot is taken over. If the thickness or outside diameter in the database is 0, the values are left. So you can, for example select a slot from the database for an already entered clamping plate, without therefore thickness and outside diameter are changed.
SR1: STL clamping plates with slot
If a slot has been defined, now also the clamping plates are 3D printed with slot.
SR1: DKm added in printout and Quick view
Depending on whether the bolt or nut is tightened, mean friction diameter DKm is calculated from the bolt head and the first clamping plate or from the nut surface and the last clamping plate. Output of DKm added in printout and Quick views.
SR1: Calculation MA = f (FM) configurable
To save computing time, you can alternatively calculate the tightening torque with an approximate formula:
MA: = FM * (0.16 * P + 0.58 * d2 * mueg + dkm / 2 * muek)
instead of
MA: = FM * (d2 / 2 * (tan (arctan (P / (pi * d2)) + ArcTan MUEG * 1.155)) + dkm / 2 * Muek)
However, the saved computation time is small, detectable only if you run SR1+ in batch mode to execute hundreds of thousands of calculations.
Just found out that also in the VDI 2230:2015 the simple formula is used. It is thus no longer an "approximation" but the official equation for the calculation of the tightening torque. Therefore, the "approximation formula" will in future be the default for recalculations.
WL1+: DXF Import: Default for y coordinate of the shaft axis pre-calculated
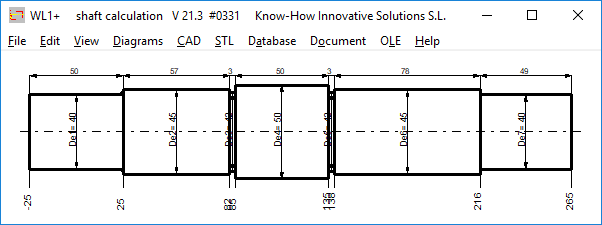
When importing shaft geometry as a DXF file, you must first enter the y coordinate of the horizontal shaft axis and a snap window for possible drawing inaccuracies. As a default for the y-coordinate of the shaft axis, now all lines of the DXF file are read in first, and the sum of all y-coordinates divided by the number of lines is used as a default. If the default does not match the actual y-axis coordinate of the shaft axis, there may be some redundant lines in the DXF drawing. Please delete these.
Tip WL1 +: Import shaft dimensions from DXF file
There are several prerequisites for the smooth reading in of a shaft geometry as a DXF file, otherwise there will only be a blank sheet:
- The DXF file may only contain the shaft dimensions, nothing else. Also no dimensioning and no center lines.
- the shaft must be horizontal
- lines must be used for the drawing. No polylines, 3D body etc.
If you have problems importing a DXF file into WL1 +, please send us your DXF file for testing.
ZPRINT Gearprinter software
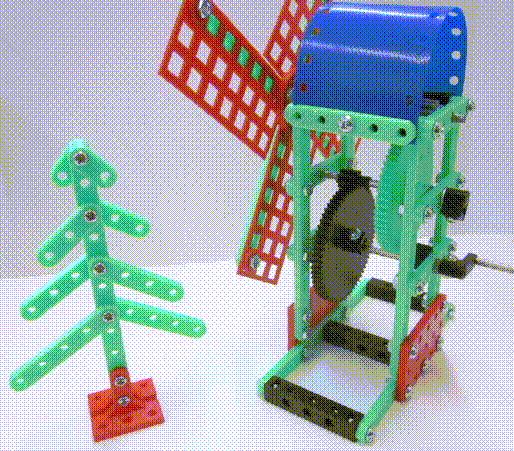
For Christmas 2018, we provide a free program for manufacturing gears on the 3D printer, plus housing, grid plate, grid band, angle brackets, washers, bushings, clamping ring, wheels.
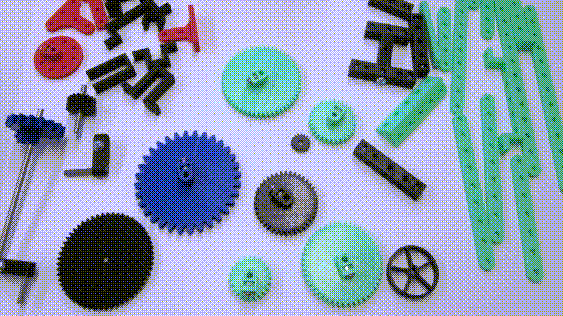
Suitable as a gift for children and grandchildren, or for yourself to craft over the holidays. The dimensions of the plates and mounting parts can be freely entered, the default is based on the antique Märklin metal kits a grid of 12.7 mm (half inch) and hole diameter 4.2mm for 4 mm shafts and screws. Then all you need is 4-mm shafts as well as nuts and bolts (M4), and the other parts are supplied by the 3D printer. If you take ˝" pitch, then make the gears for the appropriate center distance, e.g. 24 dpi gear wheels with numbers of teeth 12, 24, 36, 48, 60.
